You step out onto the damp driveway. The morning frost is just beginning to lift off the bonnet, but the front of your car still looks asleep. Those plastic headlight casings, once crisp and perfectly transparent, now stare back at you with a foggy, yellowed glaze. It looks like cataracts on a machine you rely on every single day to keep you safe.
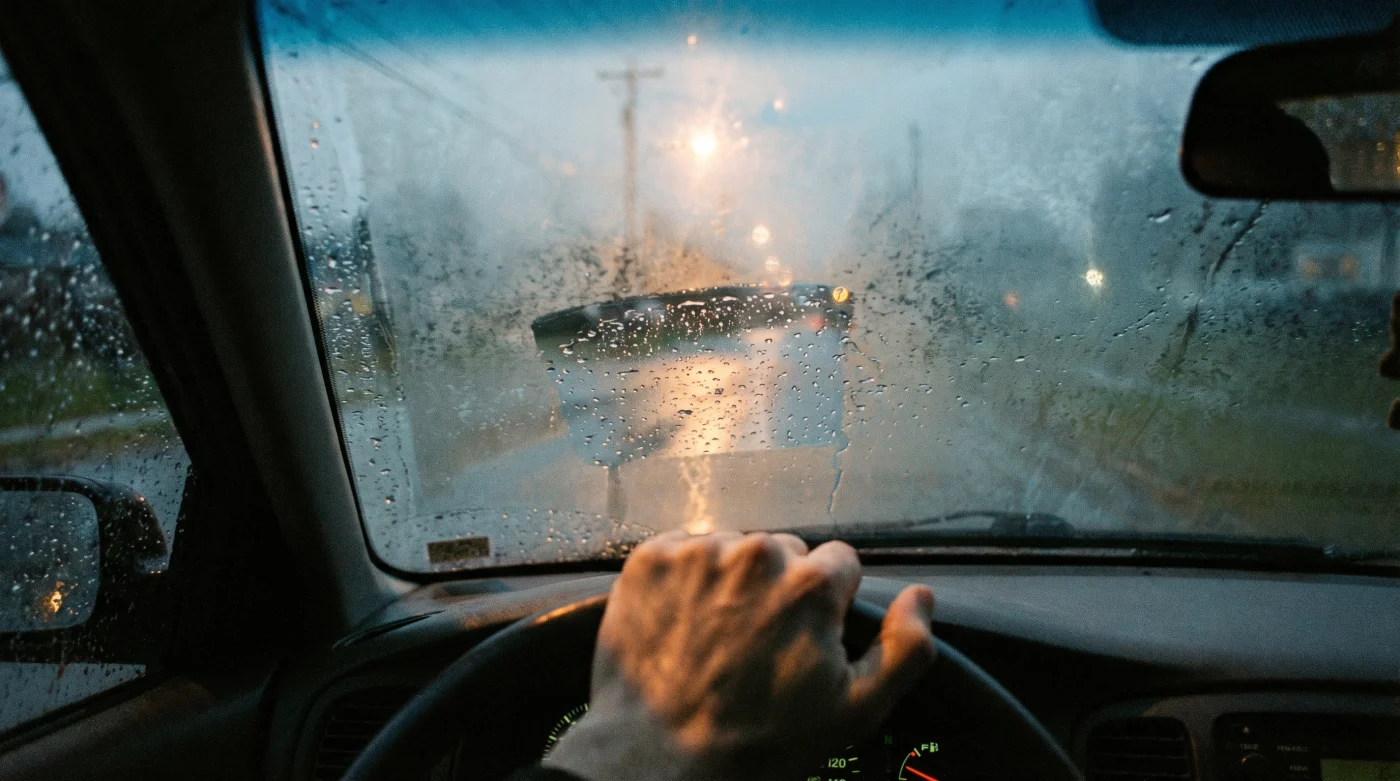
You trace a cold finger over the opaque plastic. It feels rough to the touch, slightly chalky, entirely devoid of that factory-fresh slip. This isn’t just an aesthetic annoyance; it’s the exact reason you found yourself squinting at the hedgerows on the A46 last night, white-knuckling the steering wheel, trying to shine a torch through what felt like a pint of milk.
Most garages will happily quote you upwards of £80 to mechanically polish them out. Dealerships might even quietly suggest a full replacement unit, pushing the bill into the hundreds. But there is a quieter, older logic to maintaining a vehicle past the 100,000-mile mark, one that ignores expensive chemical kits wrapped in aggressive marketing.
The solution sits quietly next to the plain flour in your kitchen cupboard. Bicarbonate of soda holds the precise micro-abrasive qualities required to physically strip away years of ultraviolet sun damage in about two minutes flat.
The Chemistry of Clarity
We often treat modern cars as untouchable black boxes of technology, assuming that every minor degradation requires a specialist tool or a proprietary chemical blend. But the polycarbonate shields covering your halogen or LED bulbs react entirely predictably to atmospheric friction and alkalinity.
Think of the plastic not as solid glass, but as skin needing exfoliation. Over years of catching direct sunlight and road grit, the topmost microscopic layer of the plastic oxidises. It effectively burns, turning that cloudy shade of amber. The baking soda does not mask the problem with oils; it physically lifts and removes the dead, oxidised layer, much like a pumice stone on a callous.
Arthur Pendelton, a 62-year-old MOT inspector working out of a draughty, oil-scented workshop in Halifax, knows this routine intimately. He spends his days examining beam patterns projected onto a wall, watching the light scatter and blur through neglected lenses.
Arthur has failed thousands of perfectly good cars purely because the casing diffused the beam. “Drivers immediately assume their bulbs are dying,” he mutters, wiping grease onto his heavy cotton overalls. “I tell them to nip to Tesco, buy a fifty-pence pot of bicarb, rub it in with a wet rag on the forecourt, and bring it straight back in. Passes every single time. It is just basic friction.”
Tailoring the Treatment to the Haze
Not all cloudy lenses are suffering from the exact same level of degradation. Depending on where your vehicle sleeps at night and how many motorway miles it has swallowed, you will need to adjust your approach slightly.
For the Slight Mist: If your car spends most nights tucked away in a garage and is only just beginning to lose its showroom gleam, a gentle approach is best. A loose paste of baking soda and water, applied with zero pressure, is enough to lift the surface grease and minor oxidation without scoring the healthy plastic underneath.
For the Deep Yellow Frost: This is the car that lives outside, baking in the July sun and taking the brunt of winter road salt. Water alone won’t break down this hardened crust. You need to mix the bicarbonate of soda with white vinegar. The resulting fizzing chemical reaction helps to actively lift the stubborn, baked-on grime while you rub.
For the 200k-Mile Veteran: When the plastic feels rough enough to strike a match against, you need sustained friction. You are not just cleaning; you are sanding. You will need to apply the paste and work it in firmly for a full two minutes per light, using the heat generated by your own palm to help the abrasive do its heavy lifting.
The Two-Minute Exfoliation Routine
Keep your movements mindful and deliberate. You do not need to rush, but you do need to maintain a steady rhythm once the paste hits the plastic. Gather your tactical toolkit before you begin: a bowl, a spoon, two clean microfibre cloths, masking tape, and your bicarbonate of soda.
Protect the surrounding paintwork first. Run a strip of masking tape around the edge of the headlight housing to ensure the abrasive paste doesn’t accidentally scour your car’s clear coat.
- Mix three tablespoons of bicarbonate of soda with just enough warm water to form a thick, stiff paste. It should resemble the consistency of toothpaste, not soup.
- Scoop a generous dollop onto your damp microfibre cloth.
- Press the cloth against the headlight and begin rubbing in tight, overlapping circles. Work methodically from one corner to the other.
- Keep the pressure firm and even. You should feel a slight drag at first, which will gradually smooth out as the dead plastic is stripped away.
- After two minutes, rinse the lens heavily with clean water and wipe it completely dry.
Step back and observe the difference. The yellow crust will be sitting in the dirty cloth in your hand, leaving behind a clear, glass-like finish that allows the internal reflectors to catch the light properly again.
Seeing the Road Safely
Mastering this simple, mundane piece of vehicle maintenance does more than just save you a minor garage fee. It restores your agency over the machine you rely on. You are no longer at the mercy of opaque MOT rules or the slow degradation of factory parts.
It transforms your evening drive from an anxiety-inducing squint into a relaxed, confident commute. When you pull out onto an unlit B-road in the dead of winter, your beams will punch cleanly through the darkness, giving you back the crucial reaction time needed to spot a hazard.
True longevity in motoring isn’t about replacing every ageing component with a brand-new part. It is about understanding the materials your car is built from and knowing exactly how to coax the life back into them with nothing more than warm water, a kitchen staple, and your own hands.
“The best maintenance isn’t bought in a bottle with a flashy label; it is applied with understanding and a little bit of quiet elbow grease.” – Arthur Pendelton
| Key Point | Detail | Added Value for the Reader |
|---|---|---|
| The Active Agent | Plain bicarbonate of soda acts as a micro-abrasive. | Saves you £80+ on commercial restoration kits while achieving the exact same result. |
| The Technique | Firm, circular motions for two straight minutes. | Physically removes the UV-damaged layer rather than temporarily hiding it with oils. |
| The Safety Factor | Restores full beam pattern and light projection. | Guarantees MOT compliance and drastically improves your nighttime hazard perception. |
Frequent MOT & Headlight Queries
Will baking soda permanently scratch my headlights?
No. Bicarbonate of soda is softer than the healthy polycarbonate plastic. It is only abrasive enough to lift the degraded, oxidised layer resting on top.Do I need to seal the plastic afterwards?
While not strictly mandatory for an immediate MOT pass, wiping a thin layer of car wax over the dried, clean lens will protect it from UV rays and delay the yellowing from returning.Why did my headlights turn yellow in the first place?
Modern headlights are made of plastic, not glass. Over time, ultraviolet light from the sun breaks down the protective factory coating, causing the exposed plastic underneath to oxidise and discolour.Can I use toothpaste instead?
You can, as toothpaste contains mild abrasives. However, plain baking soda is significantly cheaper, contains zero sticky artificial sweeteners, and allows you to control the exact thickness of your paste.How often should I do this?
Check your lights every time you top up your screenwash. A quick two-minute scrub every six to eight months is usually enough to keep them perfectly transparent year-round.